%201.svg)
%201.svg)
Point of Sale (POS) systems are essential for modern businesses, allowing seamless transactions, inventory management, and customer insights. For businesses, integrating a POS system tailored to local needs—like GST compliance and payment integration—can streamline operations and enhance efficiency.
This guide walks you through everything you need to know to use a POS system effectively.
Key Components of a POS System
A POS system is the hub where sales transactions occur. It involves hardware and software working together to facilitate business operations.
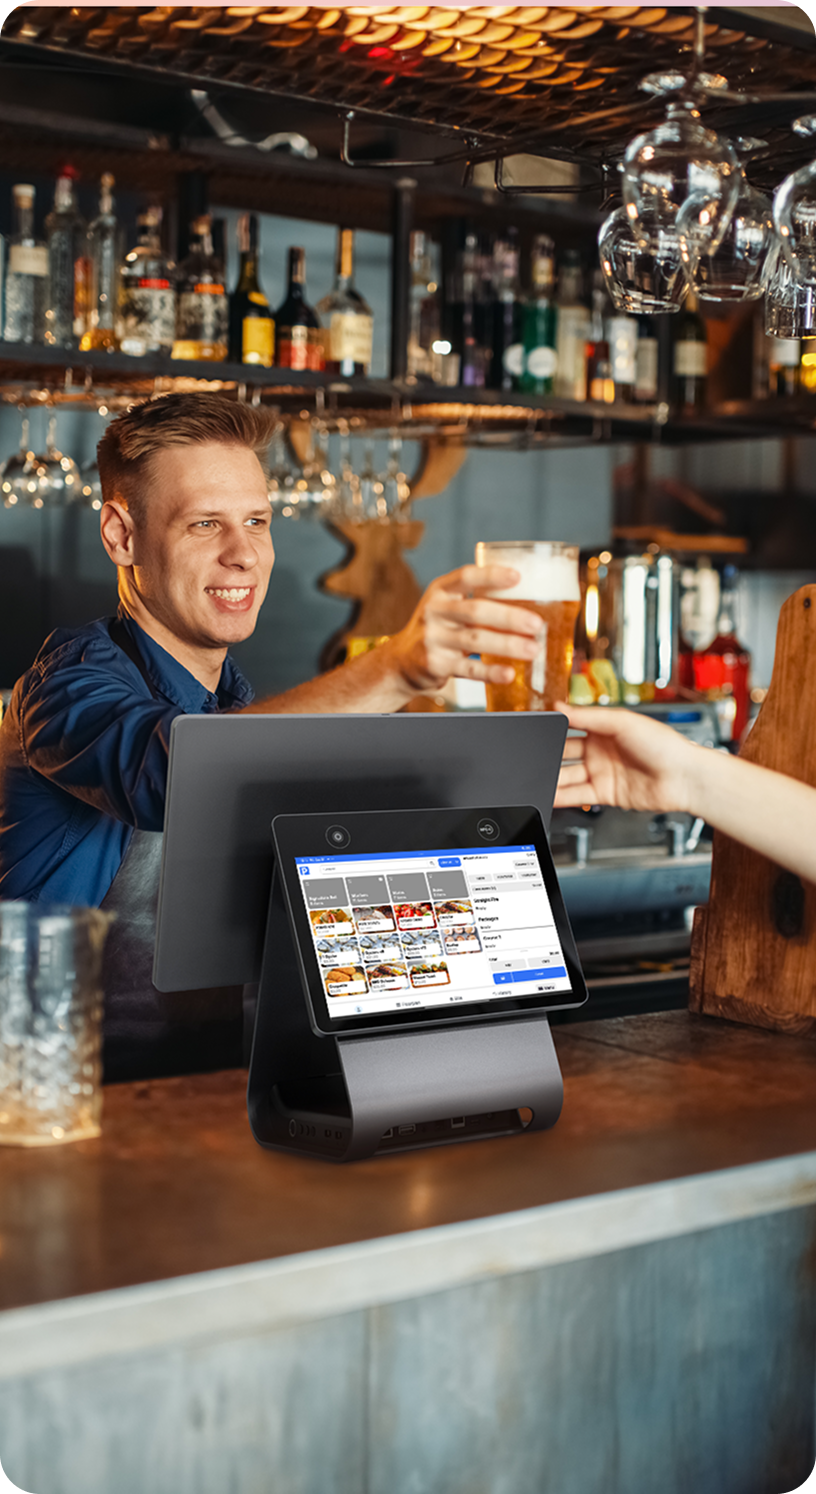
POS Hardware:
Includes terminals, barcode scanners, receipt printers, and card readers. Some setups may feature tablets for flexibility in mobile payments.
POS Software:
Provides functionalities like sales tracking, inventory management, and analytics. Choose between on-premise software (reliable for offline use) and cloud-based solutions (accessible anywhere with internet connectivity).
POS System Features and Benefits
A modern POS system has features that streamline operations, enhance customer experiences, and drive business growth. Understanding these capabilities helps businesses maximise their investment.
Key Features of a POS System
Sales and Transaction Management
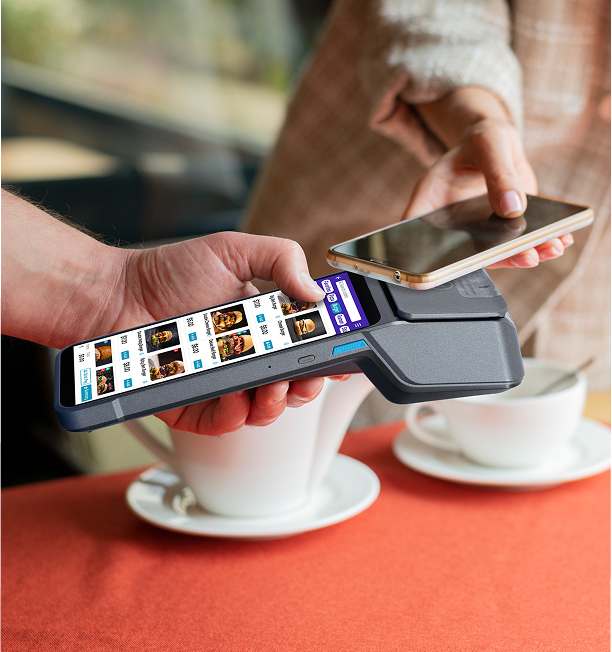
- Processes various payment methods, including EFTPOS, digital wallets, and cash.
- Generates detailed receipts for customer convenience.
Inventory Management
- Tracks stock levels in real-time.
- Automates alerts for low-stock items and streamlines reordering processes.
Customer Relationship Management (CRM)
- Stores customer data for personalisation.
- Offers loyalty programs and tracks purchase history.
Analytics and Reporting
- Provides insights into sales trends, best-performing products, and peak sales times.
- Generates customised reports for strategic decision-making
Integration Capabilities
- Syncs with accounting software like Xero and payment gateways such as Tyro.
- Links to e-commerce platforms like Shopify for omnichannel operations.
Mobile and Cloud Accessibility
- Allows mobile payments and remote management of sales and inventory.
- Ensures data security and accessibility with cloud-based storage
Benefits of a POS System
Improved Efficiency:
Speeds up checkout processes and reduces errors in transactions.
Enhanced Customer Experience:
Fast payments, personalised services, and loyalty programs lead to happier customers.
Cost Savings:
Automates repetitive tasks, freeing up staff for value-added services.
Scalability:
Easily supports business growth by managing multiple locations and more extensive inventories.
How to Use a POS System: A Step-by-Step Guide
Using a POS system effectively requires a solid understanding of its key functions and how to navigate its features for optimal business management. Below is a comprehensive guide to using a POS system for streamlined operations:
Step 1: Logging In
To begin using the POS system, access the software through the designated terminal or mobile device. Most modern POS systems provide customisable dashboards, allowing users to configure the layout for easy navigation. This feature ensures that frequently used functions are easily accessible to employees, streamlining the transaction process.
Tip: Choose strong passwords and set up two-factor authentication for added security, especially if the system handles sensitive customer or financial data.
Step 2: Adding Inventory
Accurate inventory management is one of the core benefits of using a POS system. Here's how to add products:
- Manual Entry: Input product details, including the SKU (Stock Keeping Unit), price, description, and quantity on hand. This is ideal for businesses with a smaller inventory or those adding new products gradually.
- Bulk Upload: For larger inventories, POS systems like Shopify allow businesses to upload product information in bulk using CSV files. This process saves significant time when adding many items simultaneously.
Tip: Regularly update inventory to avoid discrepancies, especially if you manage multiple locations or have high-turnover stock like perishables in restaurants.
Step 3: Processing Sales
When it's time to make a sale, the POS system helps facilitate smooth transactions:
- Scan Products or Select from Inventory: Simply scan the barcode of the product, or manually select it from your inventory list.
- Apply Discounts or Promotions: If applicable, add discounts or promotional codes to the sale. Many systems also allow you to set automatic discounts based on product type or customer loyalty status.
- Accept Payments: POS systems typically support a wide range of payment methods, including cash, EFTPOS (Electronic Funds Transfer at Point of Sale), and digital wallets like Apple Pay and Google Pay.
- Issue Receipt: After processing the payment, print or email the receipt to the customer for proof of purchase.
Tip: Use digital receipts to reduce paper waste and store transaction data more efficiently.
Step 4: Tracking Sales and Analytics
A key feature of POS systems is the ability to track sales and gather data for analysis:
- View Real-Time Sales Data: POS systems update sales data in real-time, helping you track daily revenue and identify trends.
- Generate Reports: Many systems offer customisable reports to analyse sales performance by product, employee, or time of day. This helps businesses plan marketing strategies, manage inventory, and optimise staff scheduling.
Tip: Use analytics to identify slow-moving products and plan targeted promotions or markdowns.
Step 5: Tips for Effective Use
- Train Staff Thoroughly: A POS system can have many features, and proper training is essential to ensure that staff are confident in using it. Many POS providers offer on-site or online training to help staff learn both basic and advanced features.
- Regular Updates and Maintenance: Keep your POS software updated to access new features and prevent potential glitches. Many cloud-based systems like Vend automatically update, ensuring you always have the latest version.
- Leverage Advanced Features: Many POS systems offer advanced tools like CRM (Customer Relationship Management), loyalty programs, and in-depth analytics. Use these tools to boost customer engagement and improve your business’s overall performance.
Setting Up Your POS System
Proper setup is vital for maximising the benefits of your POS system.
Step 1: Choose the Right POS System
Selecting the ideal POS system is crucial for business success. With numerous options in the Australian market, this decision depends on factors like your industry, budget, and operational needs. Some of the key considerations for choosing the right POS are mentioned in this section.
Consider your industry: retail, hospitality, or service-based. Evaluate features like inventory tracking, reporting, and customer relationship management (CRM).
Industry-Specific Features:
- Retail businesses require inventory management and barcode scanning.
- Restaurants benefit from table management and menu customisation features.
- Service businesses may prefer systems with appointment-scheduling capabilities.
Ease of Use:
- Choose a user-friendly interface for quick training and efficient daily operations. This is especially important for small teams.
Integration Options:
- Ensure the system integrates with tools like Xero for accounting, Tyro for payments, or Shopify for e-commerce.
Scalability:
- If you plan to expand, choose a system that supports multiple locations, users, and advanced reporting features.
Customer Support:
- Localised support is essential for troubleshooting. Look for providers offering 24/7 assistance tailored to businesses.
Step 2: Install Hardware and Configure Software
Properly setting up your POS hardware and software is essential for smooth operation. This process involves integrating the physical components with software configurations to ensure efficiency in transactions and business management.
Position hardware like terminals and printers strategically for efficiency. Configure software by adding business details such as store name, location, and GST settings.
Step-by-Step Hardware Setup
- Choose the Right Hardware
- Position Your Hardware
- Connect Devices
- Power Up and Test
Configuring the POS Software
- Install Software
- Input Business Information
- Load Inventory
- Customise User Roles
- Integrate with External Tools
Step 3: Integrate Additional Systems
Integrating your POS system with other tools and platforms can significantly enhance its functionality and streamline your operations. This step ensures that your POS system not only processes transactions but also serves as the central hub for managing your business efficiently. Here's how to approach integration:
1. Accounting and Financial Management
Connecting your POS system with accounting software simplifies financial tracking and compliance.
- Popular Integrations in Australia: Many POS systems integrate seamlessly with platforms like Xero and MYOB, allowing you to sync sales data, GST calculations, and payroll information in real-time.
- Benefits: Reduces manual data entry, ensures accurate reporting, and saves time during tax season.
2. E-commerce Platforms
For businesses running both physical and online stores, linking your POS system with an e-commerce platform is essential.
- Common Platforms: Shopify, WooCommerce, and BigCommerce are widely used by retailers.
- Advantages: Provides a unified inventory system, prevents stock discrepancies, and allows for seamless order fulfilment across channels.
3. Customer Relationship Management (CRM)
Integrating your POS system with CRM tools helps build stronger relationships with your customers.
- Functionality: Track customer purchase history, manage loyalty programs, and personalise marketing campaigns.
- Examples: Many POS systems come with built-in CRM features or integrate with platforms like HubSpot or MailChimp.
4. Payment Gateways
Ensure your POS system supports popular Australian payment gateways and methods.
- Integration Examples: Tyro and Commonwealth Bank EFTPOS terminals.
- Benefits: Speeds up checkout processes, provides secure payment solutions, and supports modern methods like Apple Pay or Google Pay.
5. Industry-Specific Tools
Certain industries require specialised integrations:
- Hospitality: Link with platforms like Uber Eats or DoorDash for delivery management.
- Retail: Use barcode scanning or inventory management software for smoother stock handling.
- Service-Based Businesses: Appointment scheduling tools like Timely or Fresha ensure operational efficiency.
Step 4: Set User Roles
Assign access permissions based on roles—cashiers for basic functions and managers for advanced analytics. This ensures security and accountability.
- Create Role Profiles: Common roles include cashier, supervisor, and manager. Tailor each role with permissions suitable to their responsibilities.
- Assign Employees: Link each employee to their respective role and set unique login credentials or PINs.
- Test Permissions: Verify that each role functions as intended, ensuring employees have the tools they need without unnecessary access.
- Update as Needed: Adjust roles when team members are promoted, or operational needs change.
Step 5: Testing and Training
Test System Functionality:
- Conduct sample transactions to identify any issues.
- Verify that all integrations and hardware components function correctly.
Staff Training:
- Train employees on basic operations, troubleshooting, and advanced features.
- Use vendor-provided tutorials or conduct in-house training sessions.
Common Challenges and How to Overcome Them
Connectivity Issues
Cloud-based systems require stable internet. Invest in reliable connections or backup networks:
Hardware Compatibility
Ensure hardware components work seamlessly with your POS software to avoid disruptions.
GST Errors
Regularly verify GST calculations in the system. Engage with vendors offering localised support.
Why Businesses in Australia Use POS Systems
- Efficiency in GST Compliance: Automatically calculates GST during transactions.
- Integrated EFTPOS Payments: Supports Australian payment systems, ensuring smooth transactions for local customers.
- Improved Customer Experience: Offers faster checkouts and loyalty programs.
Conclusion
A well-configured POS system can transform your business by improving efficiency, reducing errors, and enhancing customer satisfaction. Understanding how to use your POS system, from setup to daily operations, ensures long-term success.
Ready to revolutionise your business operations? Choose PlyFlo POS for tailored solutions, local support, and advanced features that fit your business needs. Contact us today and unlock the full potential of your business!
FAQs
- What is a POS system, and how does it work?
A POS (Point of Sale) system combines hardware and software that enables businesses to process transactions, track sales, and manage inventory. Australian POS systems often integrate with local payment processors like Tyro and Commonwealth Bank for seamless transactions.
- Can a POS system work on mobile devices?
Yes, many POS providers offer mobile POS (mPOS) solutions. These systems can run on smartphones or tablets, allowing businesses to accept payments and manage operations on the go. This is ideal for hospitality or pop-up shops.
- How much does a POS system cost in Australia?
The cost varies depending on the features and scale of the system. For example, basic plans for cloud-based systems start at around AUD 79/month, while advanced systems for multi-location businesses can exceed AUD 600/month.
- What are the key features to look for in a POS system?
Essential features include inventory management, sales reporting, integrations with e-commerce platforms, and local support. Many POS systems also provide features like menu management for restaurants or perishable inventory tracking for cafes.

.avif)

.png)
.png)